How To Repair The Male End Of A Garden Hose

Over time even a good hose can develop a leak or break.
A garden hose that leaks is both an annoyance and a waste of water. So whether you left your hose out in freezing weather, ran over it with the lawn mower, or your dog used it as a chew toy; the good news is that repairing it can be done in about five minutes for less than $5.

Make sure you buy the correct replacement parts.
Materials Needed
To repair your garden hose, you'll need:
- Screwdriver: Most hose repair kits have Phillips head screws, but check your kit first to be sure.
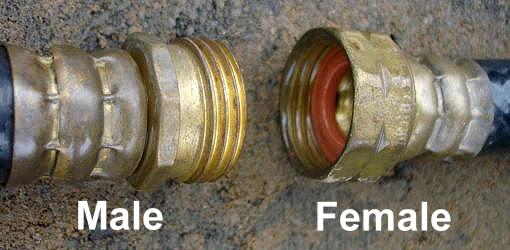
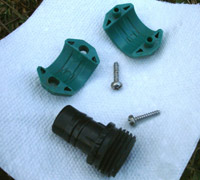
- Hose Repair Kit: Available at hardware stores or garden centers, hose repair kits come as male or female threaded hose ends as well as a connector for fixing a leak in the middle of a hose. Kits are available for various diameter hoses in both metal and plastic. I've used both kinds with great results. The hose is secured to the end using a two-piece clamp or a hose clamp. If you're not sure which thread or hose diameter you need, cut off the broken end of the hose, and take it with you to the store.
- Utility Knife: With a new blade, or a really sharp pocket or other knife.

Hose repair kit
Irrigation Tip
Hose repair kits can come in handy when making a homemade irrigation system. Using a few repair kits and an old garden hose, I was able to make an inexpensive, customized hose network for my lawn sprinklers. By cutting the hoses to the right length and concealing them against the house and under mulch, I had a budget-friendly system that rivaled an expensive underground system!
How to Repair a Garden Hose
Step 1: Cut Hose

Using the utility knife, cut cleanly through the hose. The safest way to do this is to lay the hose on the ground, so you can apply pressure without your fingers getting in the way. The cut needs to be smooth and square, not slanted or ragged. You can simply cut off the broken part or cut the hose to any length you want.
Step 2: Insert Replacement End

Push the threaded replacement end of the hose repair kit as far as it will go into the cut end of the garden hose. Since the sleeve in the replacement end will be a tight fit, it might take a bit of effort to work the hose over the sleeve, but it's important to make sure the sleeve goes all the way into the hose.
Step 3: Attach Clamp

Using a screwdriver, attach the clamp that came with the hose repair kit securely around the end of the garden hose. Make sure the two screws (or one screw if your kit comes with a hose clamp) are very tight, to prevent your garden hose repair from leaking.
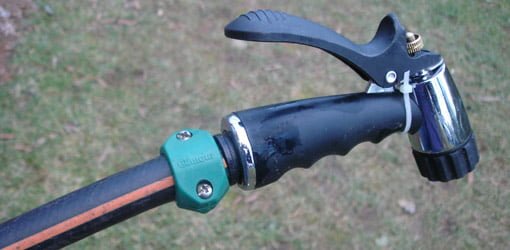
Your newly repaired garden hose is now ready to use, and you're back in business!

Completed garden hose repair.
How To Repair The Male End Of A Garden Hose
Source: https://todayshomeowner.com/how-to-repair-a-broken-garden-hose/
Posted by: sipesagat1982.blogspot.com

0 Response to "How To Repair The Male End Of A Garden Hose"
Post a Comment